Importing Devices
Import
STEP 1: Click your name > Manage Devices, or for your first import, you can upload them from a spreadsheet file.
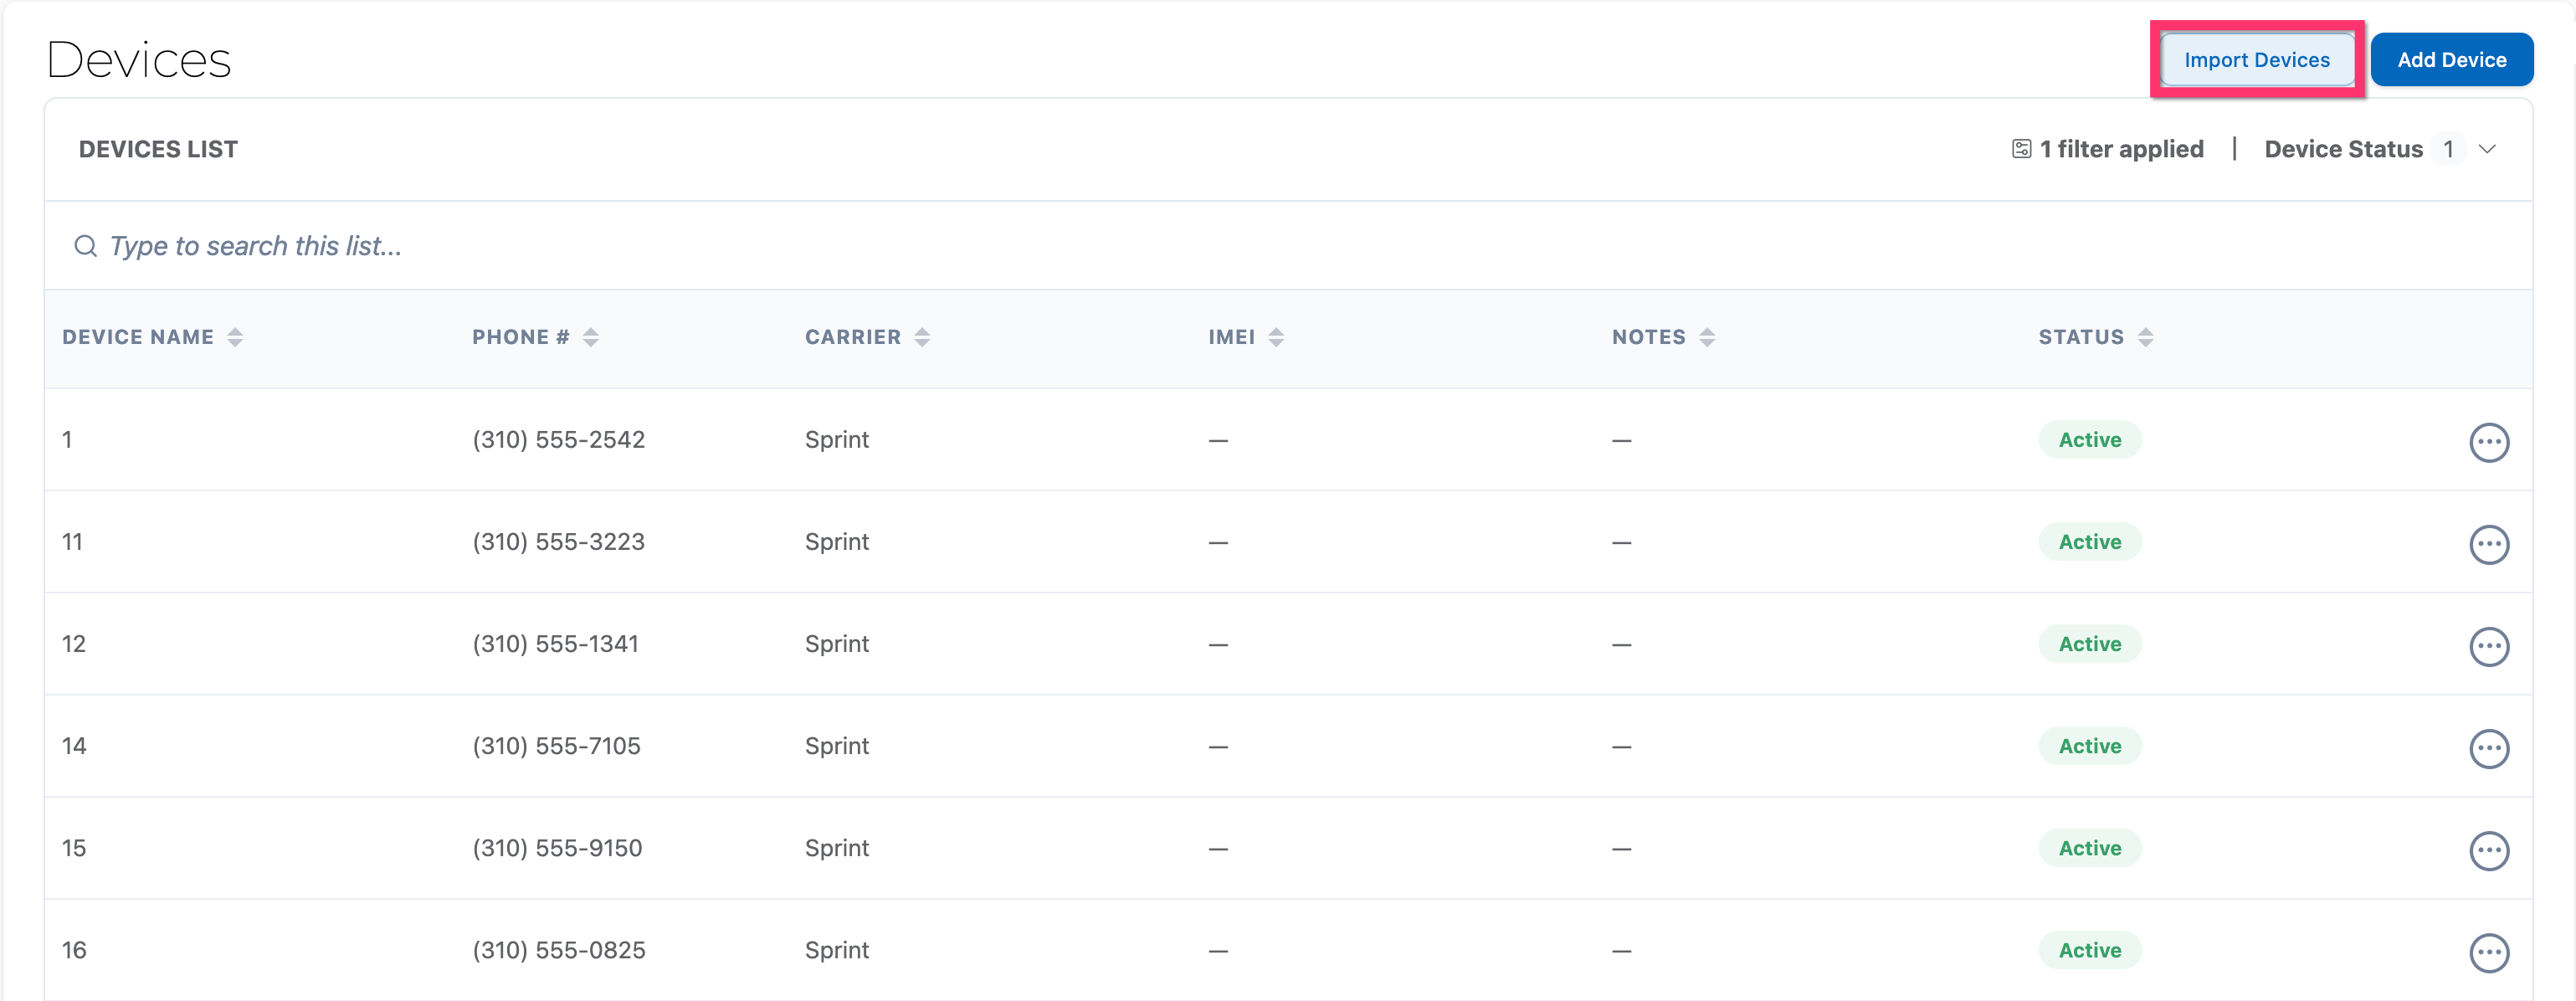
STEP 2: Then, click on Import Devices.

STEP 3: Select your Device file
STEP 4: Once imported, ensure your data is correct, then select the green Import button.
Bulk Update
STEP 1: From Manage Devices > Import Devices > Import Instructions > Download Template
The template looks like this. It can be opened in Apple Numbers (like pictured below), Microsoft Excel, or Google Sheets, as it is already a CSV file.
 It is extremely important that you do not edit any of the column headers or delete any columns. Please enter the information in the columns exactly as you see in the column header.
STEP 2: Look at the column headers
Let's expand the width of the columns so that we can see the column headers properly:
You'll notice that some column headers show examples of what can be entered in parentheses... like the last one: Status ( Active / Inactive ).
For the Status column, the data you add to the column should match one of the listed options.
For the Carrier column, you can use the listed options as a guide, but if you need to add a different carrier, that's okay too.
STEP 3: Add your devices and save the CSV
If you already have your devices in a spreadsheet, you could just change the column order to match our upload file, making it easy to copy and paste them into the template. Or of course, you can type them out.
You'll need to fill out these fields as a minimum:
Name (this is the name you use to identify this device internally... some people number their devices, some use the last 4 digits of the devices' serial numbers, and some name them after breeds of dog... we won't judge you either way!)
Status (it's unlikely that you'll need to import inactive devices, but the devices status field allows you to turn devices on and off in Hera - perhaps because a device is lost, broken, or no longer used)
When you save, make sure you keep the file format as CSV. Depending on the spreadsheet app you're using, you may need to use Save As... or Export... from the File menu to save the file as a CSV file.
Step 4: Import the completed Devices CSV file
Need any help? We got you. Just click on the chat button in the bottom-right of any page.
Related Articles
Quick-Start Guide
Welcome to Hera! We're really excited to have you here! Check out this Quick-Start Guide to get yourself ready for easier DSP management! Note: Do NOT import performance data until you've completed the first four steps below! Step 1: Login and pick ...Edit your Company Settings
With your Associates, Vehicles, and Devices imported, it's time to edit your Company Settings in Hera. Go to your user menu (top-right) and then select Company Settings to get started: Step 1: Update your company details Click on Company Details on ...Where did my button go? I can't find the button!
Where did my button go!? The Hera user interface is constantly evolving to be easier to use. We are consolidating buttons, and improving the overall experience. Many individual buttons are being consolidated into "action menus" which are the circles ...Operating out of a Second Station?
Hera is capable of supporting operations out of two different stations. We will create a separate account for your second station. A few questions that we will have: Can you tell us how long Amazon has said this additional site will run for? Can you ...Gather Your Onboarding Data
Associates Step-by-Step instructions for ADP: Using Field Grabber: People > Employment Profile Click on the 3 dots in the upper right-hand corner > Field Grabber FieldGrabber will open on the right side. You can close it with the arrow at the top. ...